If you own a Battery Tender charger, you know about its light indicators. These lights show the battery’s charge status. They help you keep your battery in top shape. But, seeing a flashing red and green light can worry you.
In this guide, we’ll explain what these lights mean. We’ll cover common problems and how to fix them. Knowing what these lights say is key to keeping your battery healthy and lasting longer.
Key Takeaways
- Battery Tender chargers use light indicators to communicate battery status
- Flashing red and green lights can indicate various issues with the battery or charger
- Troubleshooting steps include checking the power source, battery connections, and battery condition
- Regular maintenance and proper storage practices are essential for Battery Tender longevity
- Seeking professional assistance may be necessary for complex issues or when the charger is not functioning as expected
Understanding Your Battery Tender Indicators
Battery Tender chargers use light patterns to show the battery’s status. Knowing these signs helps you keep an eye on the charging. This ensures your battery gets the care it needs.
What the Flashing Red and Green Mean
A flashing red light means the battery isn’t charging. This could be because of a bad connection or a faulty battery. A steady red light, though, shows the battery is being charged.
For the green lights, a flashing one means the battery is over 80% full. When it’s fully charged, the green light stays steady. This shows the charger is now keeping the battery at its best level.
Importance of LED Indicators
The LED lights on your Battery Tender are key for watching the charge. They give you instant updates on the battery’s state. This lets you act fast if something’s off. Keeping an eye on these lights helps your battery stay healthy and work well.
| Light Indicator | Meaning |
|---|---|
| Flashing Red | Battery is not charging |
| Solid Red | Battery is charging |
| Flashing Green | Battery is over 80% charged |
| Solid Green | Battery is fully charged and in maintenance mode |
By paying attention to the battery charger lights, you can make sure your battery gets the right care. This helps it stay in top shape and last longer.
Common Reasons for Flashing Lights
When your Battery Tender’s lights start flashing, it usually means there’s a problem. The main reasons include low battery charge, bad connections, or a faulty battery.
Battery Charge Level Issues
Low battery voltage is a common cause. If the voltage falls below 3 volts, the Battery Tender can’t recognize the battery. This might happen if the battery is very low or has a short circuit inside.
Poor Connection or Wiring Problems
Flashing lights can also mean bad connections or wiring. Issues like reverse polarity, shorted leads, or loose fuses can cause this. Make sure the Battery Tender is set up right.
Defective Battery Conditions
Flashing lights can also point to a bad battery. Newer batteries, like lithium-ion, might not work with older Battery Tender models. If the battery is not working right, it won’t hold a charge.
To fix the problem, check the battery’s charge, connections, and condition. Finding the cause helps you solve the issue and get your Battery Tender working again.
Steps to Troubleshoot Your Battery Tender
If your Battery Tender shows flashing red and green lights, act fast. This is to keep your battery safe and working well. Here’s how to find and fix the problem:
Check the Power Source
First, make sure the Battery Tender gets power. Plug it into a working outlet and check the power cable for damage. If the outlet is okay, look at the fuse near the battery. Replace it if it’s blown.
Inspect the Battery Connections
Then, look at the connections between the Battery Tender and the battery. Check for loose, corroded, or damaged wiring or terminals. Clean the connections safely, as the manual says. Make sure the Battery Tender and battery are well connected.
Verify the Battery Condition
Last, use a multimeter to check the battery’s voltage. It should have at least 3 volts for the Battery Tender to charge it. If it’s less, the lights will flash. A very low or damaged battery might need to be replaced.
By following these steps, you can fix the flashing lights on your Battery Tender. This ensures your battery gets the right charge and care.
How to Clean Battery Connections

Keeping battery connections clean is key for good battery charging and longer battery life. It’s important for your car, motorcycle, or any battery-powered gadget. Cleaning the battery terminals right can greatly improve your battery’s performance and safety.
Cleaning Tools You Will Need
- Wire brush or emery cloth
- Baking soda
- Water
- Protective gloves and eyewear
- Dielectric grease (optional)
Step-by-Step Cleaning Process
Here’s how to clean your battery connections:
- First, disconnect the battery and take it out if you can.
- Then, use a wire brush or emery cloth to clean the terminals. This removes any corrosion or buildup.
- Next, mix baking soda and water to make a paste. This will help dissolve any remaining corrosion.
- Apply the paste to the terminals and let it sit for a few minutes.
- After that, rinse the terminals with clean water to get rid of the paste and any debris.
- Use a clean cloth or paper towel to dry the terminals well.
- If you want, put a thin layer of dielectric grease on the terminals. This helps prevent future corrosion.
By following these steps, you can clean your battery connections well. This is important for battery maintenance, battery charging safety, and your lead-acid battery‘s health. Regular cleaning keeps your battery charging system working efficiently.
Testing Your Battery
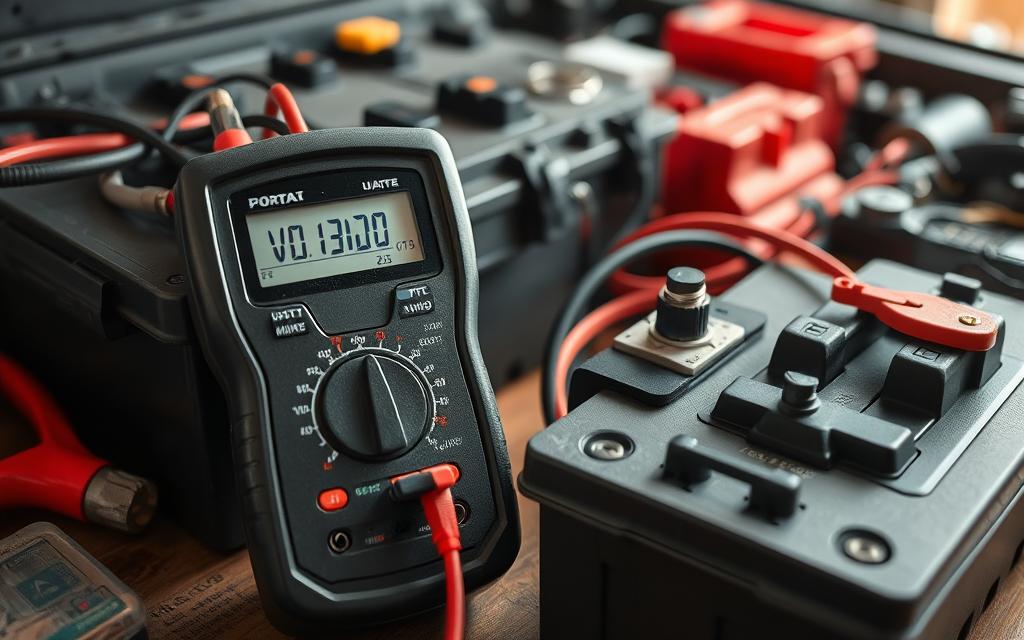
It’s key to fix battery problems and keep it in good shape for your lead-acid battery’s life. Testing your battery’s voltage with a multimeter is a must. This easy step helps you see if your battery is charged right and healthy.
Using a Multimeter
To check your battery’s voltage, just follow these steps:
- Make sure the battery is fully rested, meaning it’s been off for at least an hour.
- Set your multimeter to the DC voltage setting, usually marked as “V” or “VDC”.
- Connect the positive (red) lead to the battery’s positive terminal, and the negative (black) lead to the negative terminal.
- Look at the voltage reading on the multimeter.
Interpreting Voltage Readings
A fully charged 12-volt lead-acid battery should show between 12.6 and 12.8 volts when rested. If it’s below 12.4 volts, it’s not fully charged and might need a charge or a new battery. If the voltage keeps dropping, your battery might be getting old and needs checking or replacing.
For the best results, let the battery rest for at least an hour before testing. This helps the battery settle and gives a more accurate reading.
“Regular battery testing and maintenance are essential for ensuring your vehicle or equipment is always ready to perform at its best.”
Knowing how to test your battery’s voltage helps spot problems early. This way, you can keep your battery in top shape. It also helps you fix battery issues and keep it running well for longer.
What to Do if Your Battery is Dead
If your battery is completely drained, jumpstarting it may be necessary. But, it’s important to follow safety precautions and your vehicle’s manual. If jumpstarting doesn’t work or the battery keeps dying, it’s time to replace it.
Jumpstarting Your Battery
When jumpstarting a dead battery, make sure to:
- Park the vehicles close enough for the jumper cables to reach, but not touching.
- Apply the parking brakes and turn off both vehicles’ ignitions.
- Connect the positive (+) end of the jumper cable to the positive terminal on the dead battery.
- Connect the other positive (+) end of the jumper cable to the positive terminal on the working battery.
- Connect the negative (-) end of the jumper cable to the negative terminal on the working battery.
- Connect the other negative (-) end of the jumper cable to a metal ground on the dead vehicle, such as an unpainted bolt or the engine block.
- Start the engine of the vehicle with the working battery and let it run for a few minutes.
- Attempt to start the vehicle with the dead battery.
Replacing the Battery
If jumpstarting doesn’t work or the battery keeps dying, it’s time to replace it. Choose a battery that matches your vehicle’s needs, whether it’s a lead-acid or lithium-ion battery. Make sure the new battery fits your vehicle’s size, capacity, and voltage.
Proper battery maintenance is key to a long-lasting battery. Regularly check the battery’s charge and condition. This helps spot issues before they get worse.
Maintenance Tips for Battery Tenders
Keeping your battery tender in top shape is key for reliable performance. Regular checks and proper storage can make your tender and batteries last longer. Here are some important tips to keep your charging setup working well.
Regular Checkups
Check your battery tender and batteries often. Look for any wear, damage, or corrosion on cables and connections. Fix any problems right away to avoid bigger issues later.
Also, make sure the tender’s LED lights are working right. They should show the charge status accurately.
Proper Storage Practices
Store your battery tender in a clean, dry spot when not in use. Keep it away from moisture, extreme temperatures, and other harmful factors. Use the tender to keep batteries charged when storing them for a long time. This prevents damage from deep discharges.
By following these tips, you can make your battery tender and batteries last longer. This ensures battery maintenance, battery charging safety, and automatic battery charging for your vehicle or equipment.
“Proper maintenance of your battery tender is essential for ensuring it continues to provide reliable and efficient charging for your batteries.”
Choosing the Right Battery Tender
Choosing the right battery tender is key to keeping your vehicle’s battery in top shape. Battery tenders are essential for keeping your battery charged, whether it’s during off-seasons or when your vehicle is not in use. It’s important to pick the right one, whether you have a lead-acid or lithium-ion battery.
Factors to Consider
The first thing to think about is the type of battery in your vehicle. Battery tenders are made for specific battery types, like lead-acid or lithium-ion. Make sure the tender you pick matches your battery type for the best performance and safety.
The amp rating of the battery tender is also crucial. It shows how fast and powerful the charger is. For most cars, a 1-3 amp tender is enough. But, if you have a bigger battery or need it charged faster, you might need a higher amp model.
Look for battery tenders with cool features like smart charger lights, automatic charging, and reverse polarity protection. These features make charging safer and more efficient. They help keep your battery in great shape without risking damage.
Recommended Brands
There are several top brands for battery tenders. Battery Tender is a well-known name with a range of lithium-ion battery charging options. NOCO is also a trusted brand, known for its automatic battery charging tech and easy-to-use battery tenders.
If you’re on a budget, Schumacher is a good choice. They offer quality battery tenders at affordable prices. No matter the brand, make sure it fits your needs and has the right features to keep your battery healthy.
By looking at the battery type, amp rating, and features, you can find the right battery tender for your vehicle. This ensures your battery is always ready for your next adventure.
Safety Precautions with Battery Tenders
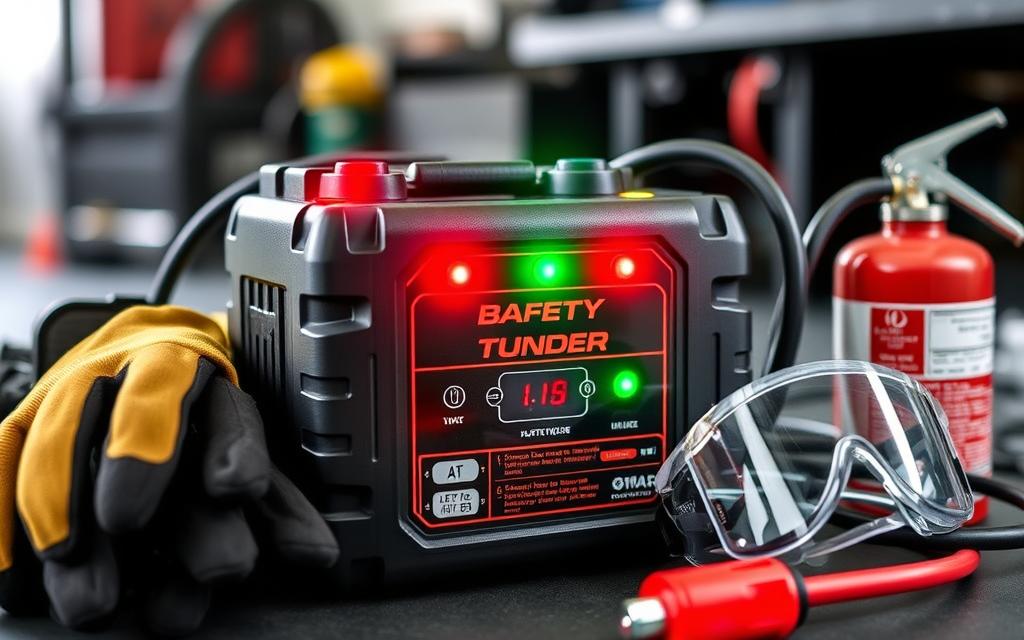
Using a battery tender safely is key to avoid risks. Charging lead-acid and lithium-ion batteries can be dangerous if you don’t take the right steps.
Personal Safety Measures
Always wear protective eyewear and gloves when working with batteries. This protects your eyes and skin from battery acid spills or splashes.
Fire and Explosive Risks
Charge batteries in areas with good air flow to avoid explosive gases. Keep all sparks and flames away from the battery to prevent fires or explosions.
Make sure to disconnect the battery tender from the power before you connect or disconnect the battery cables. This stops sparks that could start fires.
| Safety Precaution | Importance |
|---|---|
| Wear Protective Eyewear and Gloves | Safeguards against battery acid exposure |
| Charge in Well-Ventilated Areas | Prevents buildup of explosive gases |
| Keep Sparks and Flames Away | Mitigates fire and explosion risks |
| Disconnect from Power Source Before Connecting/Disconnecting Cables | Prevents sparks that could ignite flammable gases |
By sticking to these battery charging safety tips, you can use your lead-acid or lithium-ion battery tender safely and without worry.
Troubleshooting Common Battery Tender Problems
Dealing with a battery tender that’s not working right can be tough. But knowing what the lights mean can help you fix it fast. Let’s look at some common problems you might face.
Flashing Red Only
If your battery tender only shows a flashing red light, it means the battery isn’t charging. This could be because of a few things:
- Loose or faulty connections between the tender and the battery
- Blown fuses or issues with the power source
- A battery that is severely discharged (less than 3 volts)
To fix it, first check the connections. Make sure there are no loose wires or corroded terminals. If everything looks good, use a multimeter to check the battery’s voltage. Also, make sure it’s getting power from the tender. If the battery is too low, you might need to charge it another way before the tender can help.
Solid Green Light
A solid green light on your battery tender means the battery is fully charged. It’s in maintenance mode, watching the battery’s health. But if the green light stays on and the battery can’t hold a charge, it might be a battery problem.
You might need to get a new battery or have it checked by a pro. If the green light won’t switch to maintenance mode, you should contact Battery Tender’s customer support for help.
Understanding your battery tender’s lights can help you solve common problems quickly. If you can’t fix it yourself, don’t worry. Reach out to the maker for more help and support.
When to Seek Professional Help

As a responsible battery owner, knowing when to get professional help is key. Many battery problems can be fixed with basic DIY steps. But, there are times when a qualified technician is the best choice.
Signs Your Battery Needs Expert Attention
- Your battery keeps failing to hold a charge, even with proper care.
- You see physical damage or swelling on the battery, which could mean an internal problem.
- The Battery Tender shows constant error codes or flashing lights you can’t fix.
- Your battery’s voltage stays below 3 volts, which might mean something’s wrong.
Finding a Reliable Technician
When you need a pro, picking a reliable and skilled technician is crucial. Look for certified auto techs or battery experts with a good history in battery maintenance, troubleshooting battery issues, and lead-acid battery charging. Check online reviews, ask friends, or local auto parts stores for suggestions. Also, ask the technician about their qualifications and experience before you let them work on your battery.
Proper care and troubleshooting of your battery are vital for its long life and best performance. Recognizing when to get professional help and finding a trustworthy technician can keep your battery in great shape. This way, you avoid expensive breakdowns or the need for a new battery.
Frequently Asked Questions
Using a battery tender can raise some common questions. Let’s tackle two of the most asked ones:
Can I Use My Battery Tender Indoors?
Yes, you can use your battery tender indoors. But, make sure it’s in a well-ventilated area. Battery charging safety is key, as charging can release hydrogen gas. Keep your battery tender away from open flames or sparks.
Follow the manufacturer’s instructions and take precautions. This way, you can safely charge your battery indoors.
How Long Should I Charge a Battery?
The charging time for your battery depends on its capacity and charge level. Most automatic battery charging systems, like lead-acid battery charging tenders, automatically switch to maintenance mode when fully charged.
For very low batteries, charging might take up to 72 hours. Always check the manufacturer’s guidelines for your battery tender and battery type.
It’s important to follow the right charging steps and safety rules for your battery’s health. If you have more questions or concerns, talk to a professional or the battery tender maker.
The Benefits of Using a Battery Tender
Keeping your battery healthy is key for reliable performance. This is true for your car, toys, or tools. A battery tender is a smart charger that helps a lot. It’s a must-have for keeping your battery in top shape.
Increased Battery Lifespan
A battery tender helps your battery last longer. It stops sulfation and keeps the charge right. This is great for batteries in cars or toys that you only use sometimes.
Convenience and Peace of Mind
A battery tender makes charging easy and worry-free. It watches your battery and stops charging when it’s full. This means you can relax, knowing your battery is okay.
Lithium batteries, like Ionic ones, don’t need a battery tender. They have special features that make them last a long time. They charge fast and come with long warranties.
Using a battery tender keeps your batteries ready to go. It’s a smart way to keep your gear working. It’s a great choice for anyone who wants a healthy battery.
Conclusion
Keeping your battery tender in good shape is key to its performance and battery life. Knowing how to read the lights on your battery tender helps you fix problems fast. This includes issues with flashing red and green lights or charge levels.
Recap of Key Points
This guide has shown why keeping your battery tender clean and checked is important. It’s about cleaning connections, testing batteries, and solving common problems. By doing this regularly, you can prevent battery failures and keep your devices working well.
Encouragement for Regular Maintenance
A well-kept battery tender means a longer-lasting battery. Spending a little time on regular checks and fixes keeps your gear ready. Stay on top of it, and get help if you can’t solve issues with your battery tender.
FAQ
What do the flashing red and green lights on my Battery Tender mean?
Why is my Battery Tender displaying flashing lights?
How do I troubleshoot a Battery Tender with flashing lights?
How do I clean my battery connections?
How do I test my battery voltage?
Can I use my Battery Tender indoors?
How long should I charge a battery with a Battery Tender?

Jack Thompson is a writer and seasoned auto mechanic with over 15 years of experience in the automotive industry. Known for his expertise in vehicle mechanics, Jack has a deep understanding of car and truck systems. His skills, honed through years of hands-on experience, have made him a trusted name in the field. Jack is committed to providing valuable insights into car maintenance and repair, helping vehicle owners keep their vehicles in top condition.

