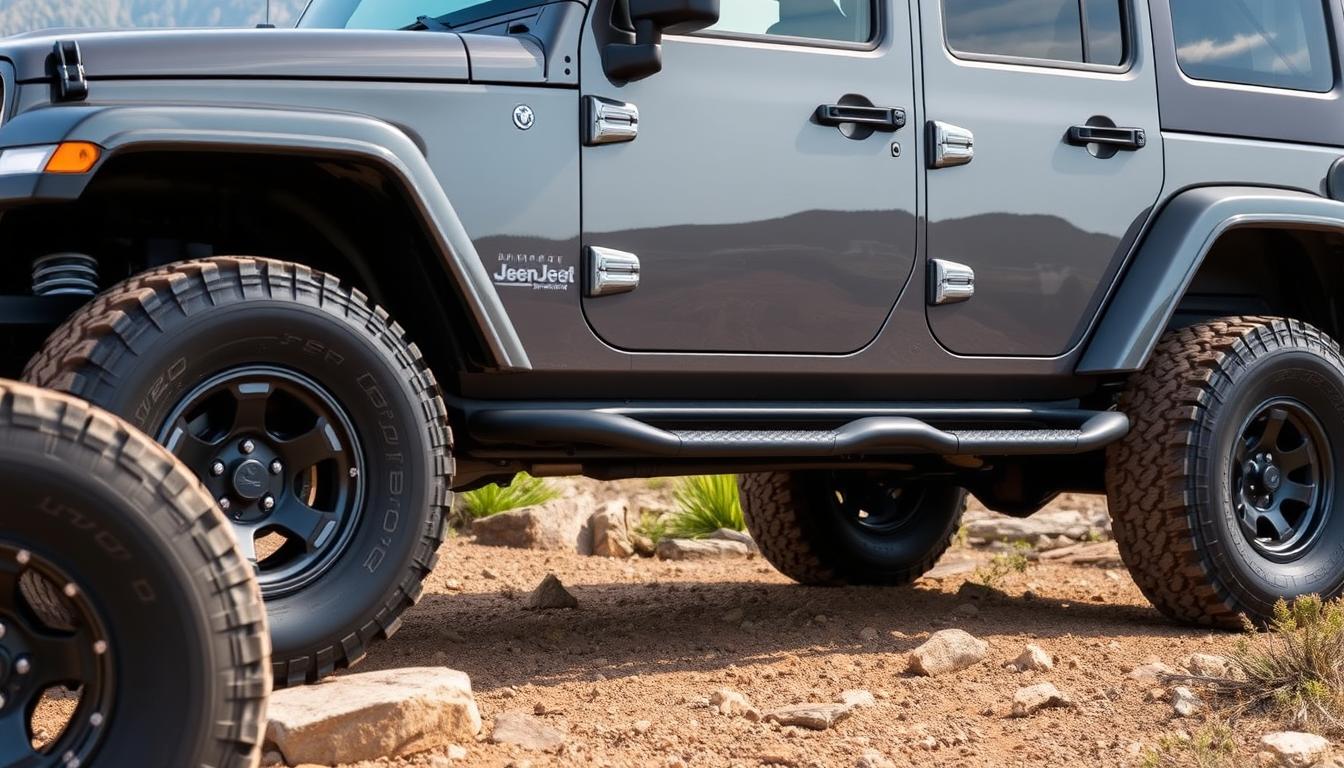
Adding side steps to your Jeep Wrangler is simple and stylish. You can choose from Original Equipment Manufacturer (OEM) or aftermarket options. This guide will help you install side steps on your Jeep Wrangler. It covers models from 1997 TJ to 2018-2022 JL 2 Door.
Key Takeaways
- OEM and aftermarket side step options are available for Jeep Wrangler models
- Side steps can improve accessibility and enhance the overall style of your Wrangler
- DIY installation is possible with the right tools and materials
- Proper safety precautions and vehicle preparation are crucial for a successful installation
- Detailed step-by-step instructions guide you through the entire installation process
Understanding Jeep Wrangler Side Steps: Types and Benefits
Side steps are a great way to make your Jeep Wrangler better. They are also known as jeep wrangler running boards or side entry steps for jeep wrangler. You can find many styles to match your taste and needs.
Different Types of Side Steps Available
There are two main types: nerf bars and running boards. Nerf bars are tubular with step pads. Running boards are wider and flatter, offering more space to step on. Side steps can also be cab-length or wheel-to-wheel, depending on how long they go.
Advantages of Installing Side Steps
- They make getting in and out of your Jeep easier, great for tall people or those with mobility issues.
- They protect your Jeep from mud, debris, and other road hazards.
- They also make your Jeep look cooler and more rugged.
OEM vs Aftermarket Options
You can pick between OEM and aftermarket side steps for your Jeep Wrangler. OEM steps fit perfectly, while aftermarket options have more styles and features. Prices vary a lot, from under $100 to over $1,000, depending on your budget.
| Feature | OEM Side Steps | Aftermarket Side Steps |
|---|---|---|
| Fit | Precise fit for Jeep Wrangler | Variety of fit options |
| Style | Limited to factory designs | Diverse range of styles and designs |
| Price | Generally more expensive | Wider price range, including budget-friendly options |
When picking side steps for your Jeep Wrangler, think about your budget, climate, and how you want them installed. This will help you find the best option that looks good and works well for you.
Required Tools and Materials for Installation
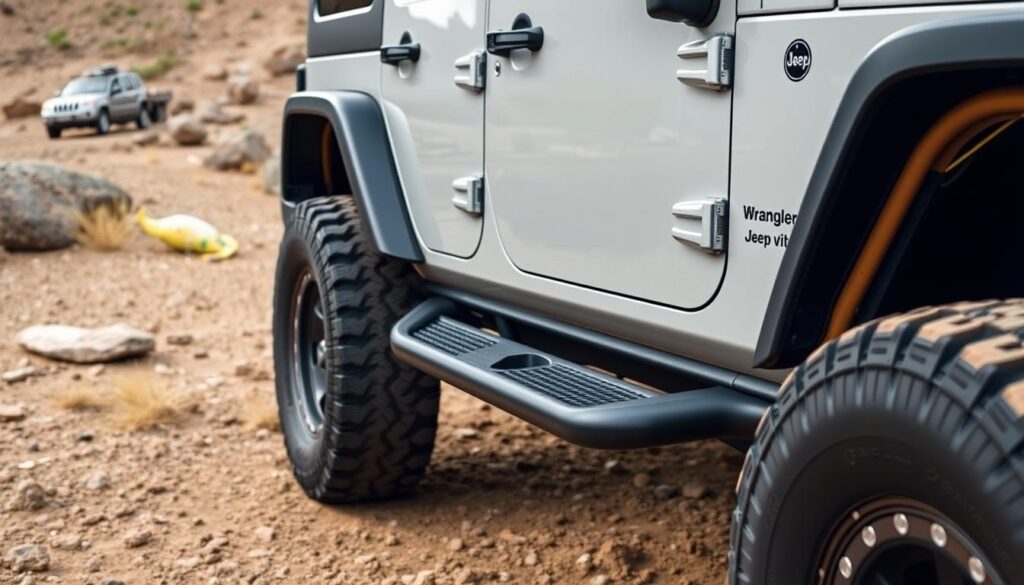
Adding stylish side steps to your Jeep Wrangler is easy. You just need a few tools and materials. Whether you’re putting on wrangler step bars or other jeep off-road accessories, the right tools make the job smooth.
You’ll need a ratchet and socket set, box-end wrenches, safety glasses, and gloves. A creeper or padded mat helps when working under the vehicle. You’ll also need the side steps, mounting brackets, and hardware, which come in the kit.
| Tools Required | Materials Needed |
|---|---|
|
|
With the right tools and materials, you’re ready to install. This will change your Jeep Wrangler’s look and function. Now, let’s talk about safety and getting your vehicle ready.
Safety Precautions and Vehicle Preparation
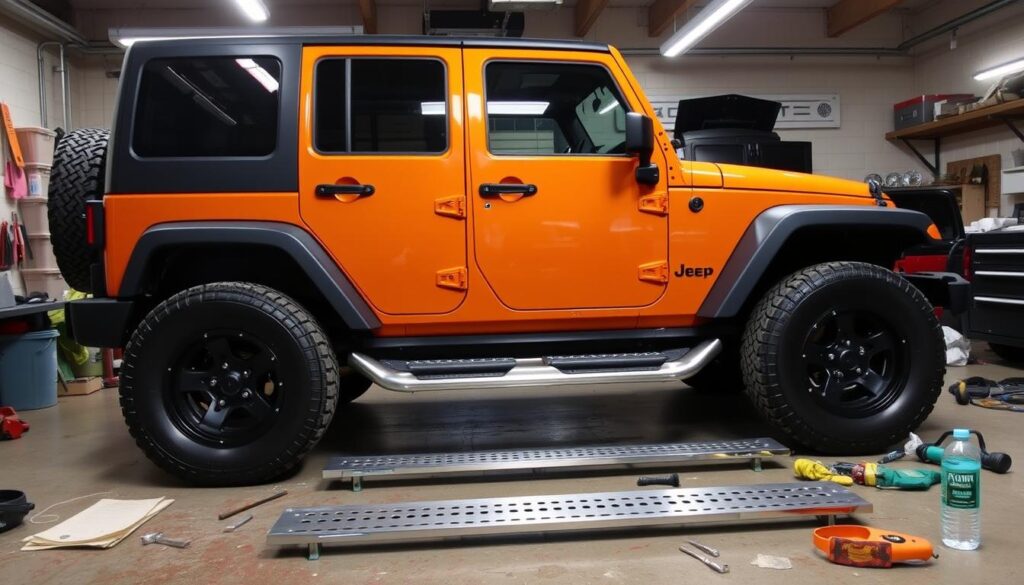
Installing side steps on your Jeep Wrangler needs careful safety steps. Before starting the jeep wrangler side step installation, make sure you have protective gear like safety glasses and gloves. Always work on a level surface to avoid the Jeep moving unexpectedly.
Essential Safety Measures
- Wear protective eye gear to shield your eyes from debris or accidental contact with tools.
- Remove any jewelry, such as rings or bracelets, to prevent them from getting caught in the installation process.
- Ensure the Jeep Wrangler is securely positioned on a level surface, using jack stands if necessary, to prevent the vehicle from moving during the how to install side steps on jeep wrangler process.
Vehicle Positioning and Support
Proper positioning of the Jeep Wrangler is key for a successful side step installation. Park the vehicle on a flat, level surface and engage the parking brake. If needed, use a floor jack and wood blocks to raise and support the Jeep during the installation.
Pre-Installation Checklist
- Gather all the required tools and materials, such as sockets, wrenches, and the side step kit, to ensure a smooth installation process.
- Familiarize yourself with the vehicle’s frame and mounting points to understand where the side steps will be attached.
- Carefully review the manufacturer’s instructions to ensure you follow the correct steps and adhere to any specific safety guidelines.
By taking the necessary safety precautions and properly preparing your Jeep Wrangler, you’ll be well on your way to a successful jeep wrangler side step installation. Remember to work carefully and follow the instructions to ensure a safe and secure installation.
How to Install Side Steps on Jeep Wrangler: Step-by-Step Process
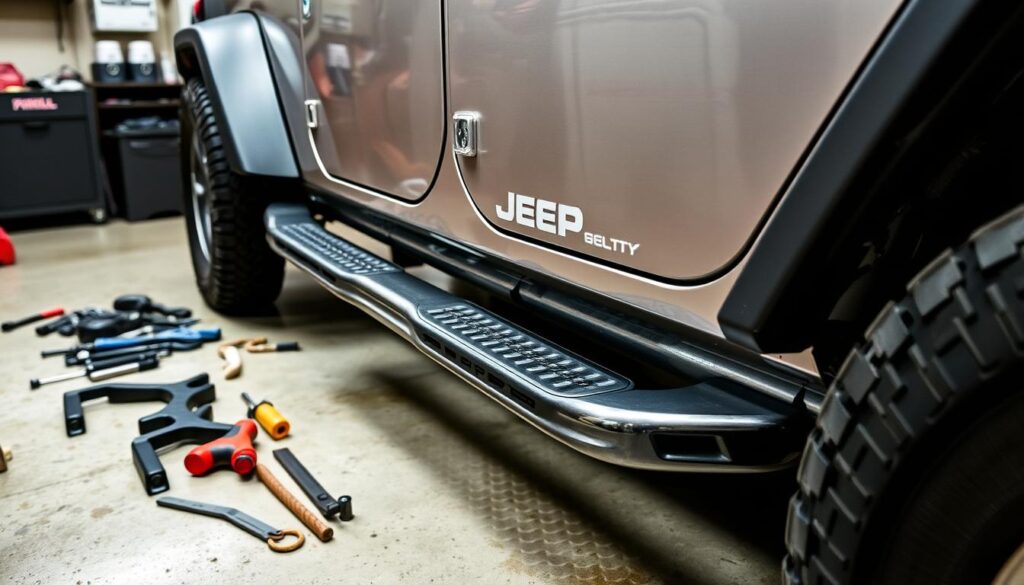
Adding side steps to your Jeep Wrangler makes it easier to get in and out. It also makes your vehicle look better. You can pick from Jeep Wrangler running boards or fixed side steps. The installation is straightforward with the right tools and some guidance.
- Find the factory-drilled holes in the Jeep Wrangler’s frame. These holes are where you’ll attach your side steps.
- Put the bolt plates from your side step kit on the frame. These plates hold the mounting brackets in place.
- Attach the side step mounting brackets to the bolt plates. Make sure they fit well and are secure.
- Place the side steps on the mounting brackets and lock them in with the hardware provided.
- Make sure to tighten all bolts and fasteners as recommended by the manufacturer.
For some Jeep Wrangler models, like the 1997 TJ, you might need to use well nuts instead of rivets. Always check the installation guide that comes with your side step kit. This ensures a safe and correct installation.
The whole how to install side steps on jeep wrangler process usually takes about 2 hours. This time depends on your skill level and the side step model you choose. With the right tools and a little patience, you can upgrade your Jeep Wrangler with quality side steps.
Installing Mounting Brackets and Hardware
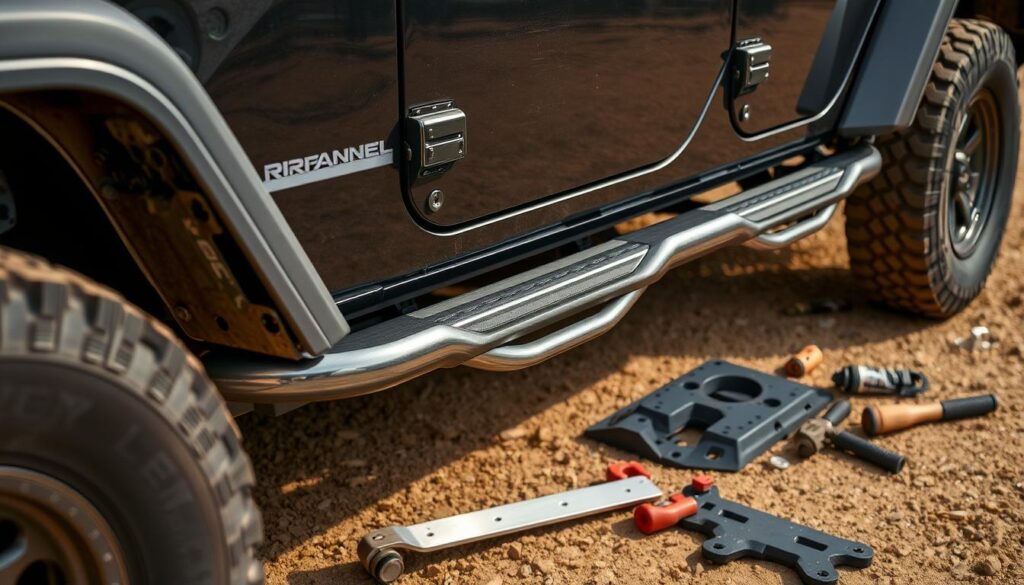
The first step in installing jeep wrangler side steps or wrangler step bars is to attach the mounting brackets. This needs precision and detail to ensure a secure and aligned installation.
Bracket Placement Guide
Start by attaching the front brackets first, then the center and rear ones. It’s key to leave the hardware finger-tight at first. This allows for adjustments during the installation.
- Find the factory mounting holes on your Jeep Wrangler for the brackets.
- Align the brackets with the factory holes, making sure they fit snugly and level.
- Use 10mm x 35mm Hex Bolts and 10mm x 27mm x 3mm Flat Washers to secure the brackets.
Hardware Installation Tips
Follow the manufacturer’s instructions closely when installing hardware. It’s important to use the right torque to keep the installation strong.
- Use the right tools, like wrenches and a torque wrench, to tighten bolts and nuts.
- Check the brackets’ alignment and adjust if needed before tightening the hardware fully.
- Apply a small amount of silicone sealant to the mounting points to prevent water intrusion and ensure a secure fit.
Torque Specifications
Check the manufacturer’s recommended torque specifications for the jeep wrangler side step installation. Following these guidelines helps prevent the side steps from loosening or shifting over time.
| Hardware Type | Torque Specification |
|---|---|
| 10mm Hex Bolts | 35-40 ft-lbs |
| 8mm Hex Bolts | 20-25 ft-lbs |
| 6mm Hex Bolts | 10-15 ft-lbs |
“Proper installation and maintenance of jeep wrangler side steps or wrangler step bars is crucial for both safety and functionality.”
Aligning and Securing Side Steps
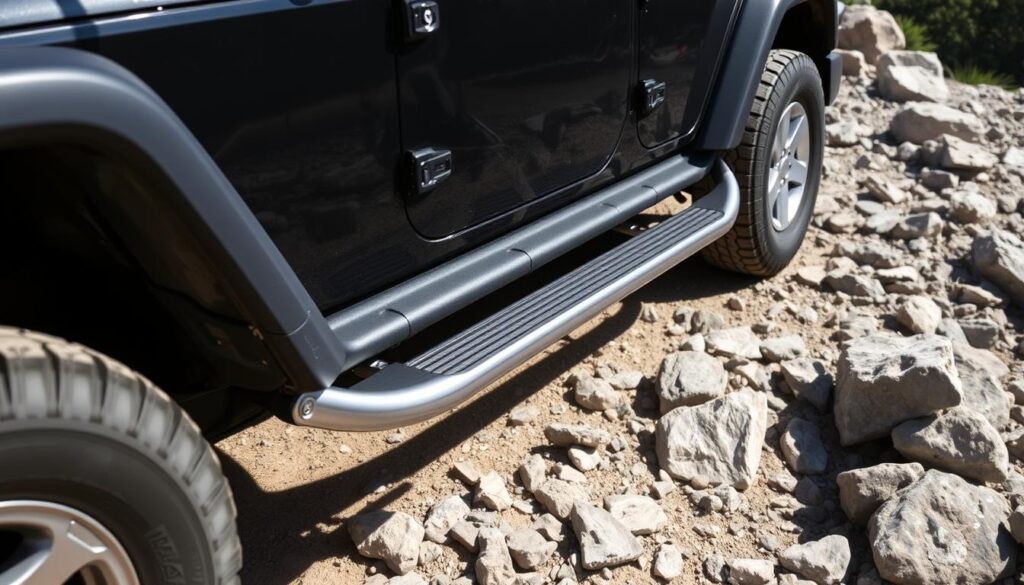
Now that the mounting brackets are set, it’s time to align and secure your side entry steps for jeep wrangler. This step is key for a smooth and strong installation. It makes your Jeep Wrangler safer and look better.
- Place the jeep wrangler nerf bars on the brackets, making sure they fit right.
- Put the bolts through the slots for a tight connection between the steps and brackets.
- Use the right tools to tighten the bolts slowly, following the maker’s instructions.
- Check if the steps are even and level on both sides of your vehicle.
- Adjust the steps if needed, by loosening and tightening the bolts carefully.
After aligning the steps, make sure to tighten all bolts well. This keeps the steps stable and safe. It also makes your Jeep Wrangler look better and last longer.
| Product | Price | Weight Limit | Warranty | Installation Time |
|---|---|---|---|---|
| Tyger Auto Star Armor Kit for Jeep Wrangler JKU (2007-2018) | $344.99 per pair | 500 lbs per side | Limited 5-year warranty | Approximately 2 hours |
“The running boards received via UPS were well-packed in a box with no signs of shipping damage, weighing approximately 100 lbs when shipped.”
Remember, aligning and securing your side entry steps for jeep wrangler is crucial. It ensures your Jeep Wrangler is safe and looks great.
Common Installation Challenges and Solutions
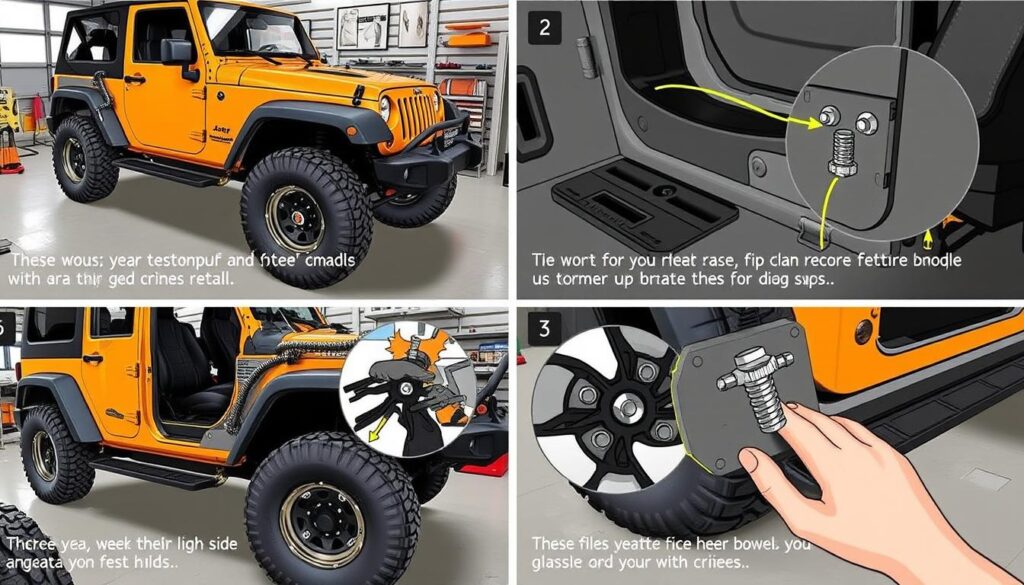
Installing side steps on your Jeep Wrangler can be tricky. But, with the right steps and patience, you can get through any issues. Let’s look at some common problems and how to solve them for a smooth installation.
Troubleshooting Installation Issues
One big challenge is misaligned mounting holes. This might happen if the factory holes don’t fit perfectly. You might need to drill new holes or use universal brackets. Always check the fit and alignment before tightening.
Another issue is getting to the mounting points, like on a 1997 TJ. If it’s hard to reach, try using longer bolts or extensions. Being patient and strategic can help a lot.
Frame Hole Alignment Tips
- Carefully measure and mark the mounting locations to ensure optimal alignment.
- If the factory holes are oversized or damaged, explore alternative mounting solutions, such as universal brackets or drilling new holes.
- Use a flexible inspection mirror or camera to better visualize the mounting points and ensure proper alignment.
- Temporarily hand-tighten the hardware to check the fitment before fully securing the side steps.
| Issue | Solution |
|---|---|
| Misaligned mounting holes | Use alternative mounting methods, such as universal brackets or drilling new holes |
| Restricted access to mounting points | Utilize longer bolts or extensions to reach the necessary areas |
By tackling these common problems and using the right tips, you can install your Jeep Wrangler side steps successfully. A well-thought-out plan and careful attention to detail are crucial for a good installation.
Testing and Final Adjustments
After installing your jeep wrangler side step or wrangler rock sliders, test their stability and weight-bearing. Start by standing on each step, making sure they hold your weight securely. They should not move or flex too much.
Make any final adjustments as needed. Double-check that all hardware is tight and the side steps are well attached to your Jeep Wrangler. Regularly check the installation and tighten the hardware to keep the side steps safe and reliable.
With the side steps installed and tested, you can now enjoy better access and protection for your Jeep Wrangler. Always check and maintain the side steps to ensure they work well over time. This keeps you safe on the trails.
FAQ
What types of side steps are available for the Jeep Wrangler?
What are the benefits of installing side steps on a Jeep Wrangler?
What is the difference between OEM and aftermarket side steps for a Jeep Wrangler?
What tools are required to install side steps on a Jeep Wrangler?
What safety precautions should be taken when installing side steps on a Jeep Wrangler?
How do you install side steps on a Jeep Wrangler?
How do you address common installation challenges when installing side steps on a Jeep Wrangler?
How do you test and adjust the side steps after installation on a Jeep Wrangler?

Jack Thompson is a writer and seasoned auto mechanic with over 15 years of experience in the automotive industry. Known for his expertise in vehicle mechanics, Jack has a deep understanding of car and truck systems. His skills, honed through years of hands-on experience, have made him a trusted name in the field. Jack is committed to providing valuable insights into car maintenance and repair, helping vehicle owners keep their vehicles in top condition.

