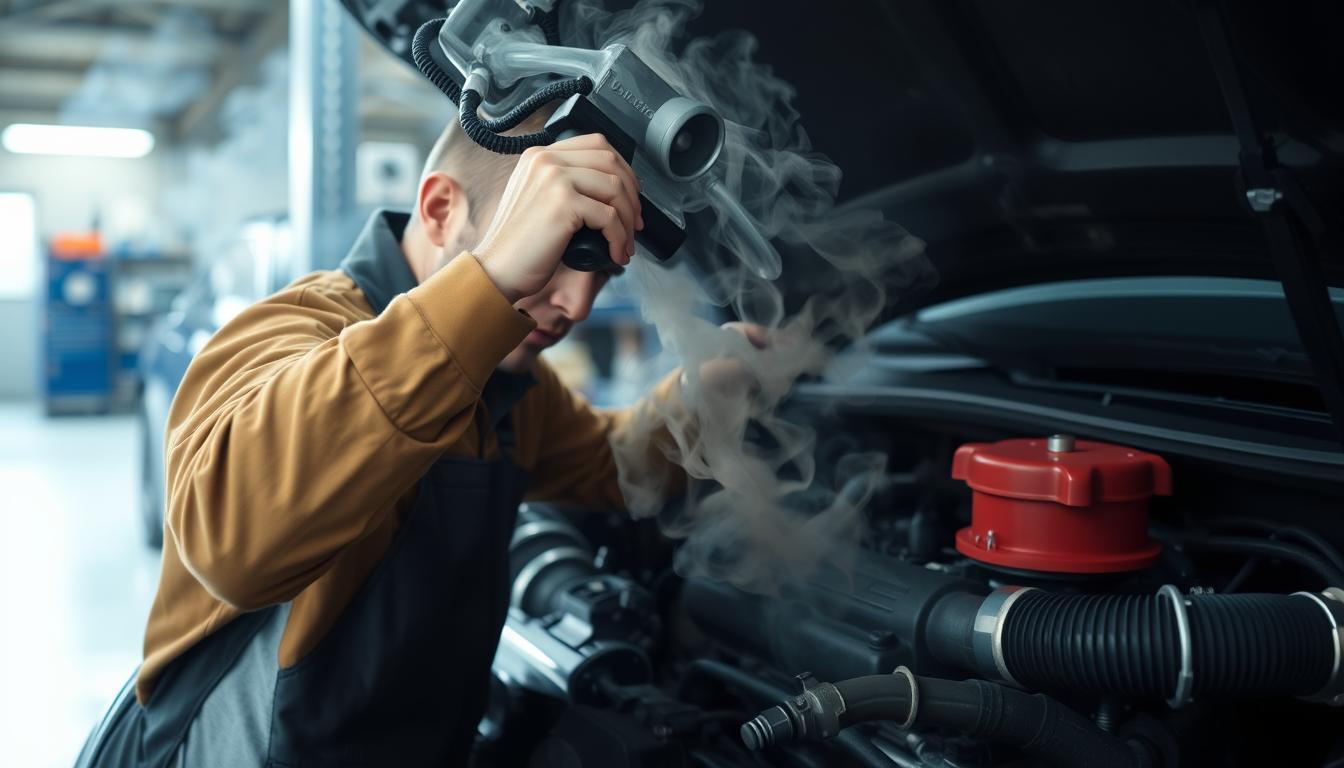
Keeping your vehicle’s engine in top shape is key for great performance and fuel savings. Vacuum leaks are a common problem that can hurt your engine’s work. This guide will show you how to find and fix these leaks using smoke testing, a simple DIY method.
Key Takeaways
- Smoke testing is a highly effective method for detecting vacuum leaks, with 100% of forum members reporting its use.
- Building a homemade smoke tester using a quart paint can costs approximately $10, and 100% of users found small leaks using this setup.
- Fixing the detected leaks can lead to a remarkable 100% improvement in engine performance.
- Smoke testing can be used to inspect a variety of components, including the intake, exhaust, transmission, and rear differential.
- Homemade fog juice for smoke machines can be made using readily available ingredients like glycerin and distilled water.
Understanding Vacuum Leaks: What You Need to Know
Vacuum leaks are common in vehicles and can affect how well they run. They can cause issues like rough idling, poor acceleration, and even engine stalling. Knowing about vacuum leaks helps keep your car in good shape and avoids expensive fixes.
Definition of a Vacuum Leak
A vacuum leak happens when there’s an unwanted gap in the engine’s vacuum system. This lets uncontrolled air into the engine. It messes up the air-fuel mix, making the engine run poorly.
Common Causes and Symptoms
Vacuum leaks can come from many sources. These include damaged or cracked vacuum hoses, loose connections, faulty intake manifold gaskets, and problems with the EGR valve or brake booster. Signs of a vacuum leak include rough idling, stalling, and poor acceleration. You might also see the MIL light on, which means there’s a problem.
Risks of Ignoring Vacuum Leaks
Not fixing a vacuum leak can harm your engine. It can make the engine run poorly, waste fuel, and damage engine parts. A big leak can also mess with the brake booster, making your car unsafe.
Fixing vacuum leaks quickly is key to keeping your car running well. It helps with engine troubleshooting and vacuum line inspection. By knowing about vacuum leaks, you can catch and fix problems early, avoiding bigger issues.
The Importance of Smoke Testing for Vacuum Leaks
Smoke testing is now key in the car world for finding vacuum leaks. These leaks can mess up the engine’s air and fuel mix. This can lead to poor performance, less fuel efficiency, and emissions problems.
Why Use Smoke for Testing?
Smoke testing is better than old methods like using propane or carburetor cleaner. It’s safer because it doesn’t risk fires. Plus, seeing smoke makes it easy to spot leaks, even in tricky spots.
Advantages of Smoke Tests Over Other Methods
- Safer than methods using flammable substances
- Provides a clear visual representation of leak locations
- Can detect leaks in hard-to-access areas of the vacuum system
- More effective in identifying subtle or hard-to-find leaks
- Increasingly adopted by professional mechanics and DIY enthusiasts
Even though pro smoke machines are pricey, DIY options are getting cheaper. This makes smoke testing easy for home mechanics. It helps find leaks well and makes fixing them more efficient.
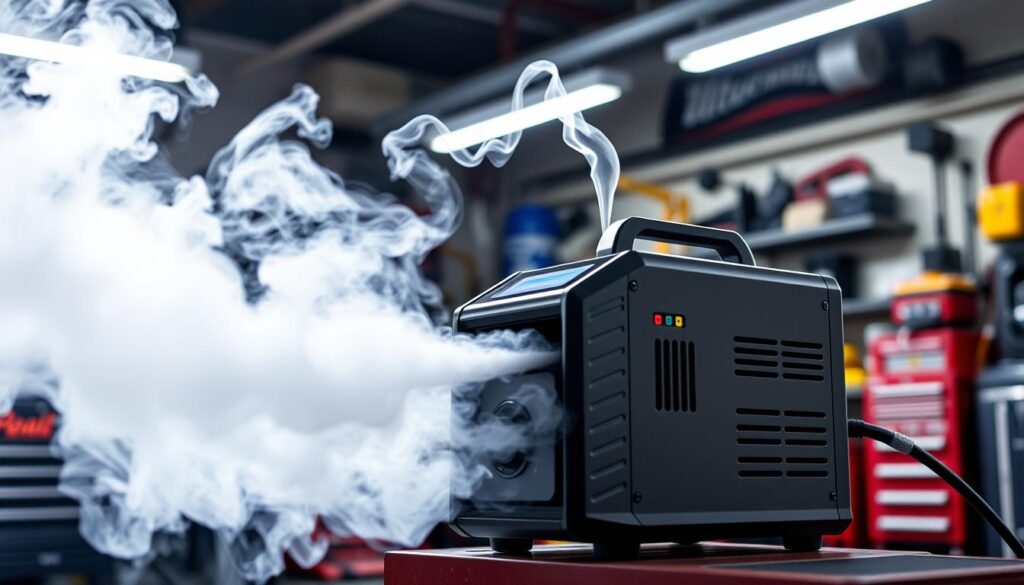
“Smoke testing has become an essential tool in modern auto repair, enabling mechanics to quickly and precisely identify the source of vacuum leaks in complex engine systems.”
Tools and Materials You’ll Need for Smoke Testing
To find vacuum leaks in your vehicle, you need the right tools. Whether you’re doing it yourself or you’re a mechanic, the right tools are key. They help you get accurate results and keep you safe while testing.
Essential Tools for DIY Smoke Testing
Here are the basic tools for a DIY smoke test:
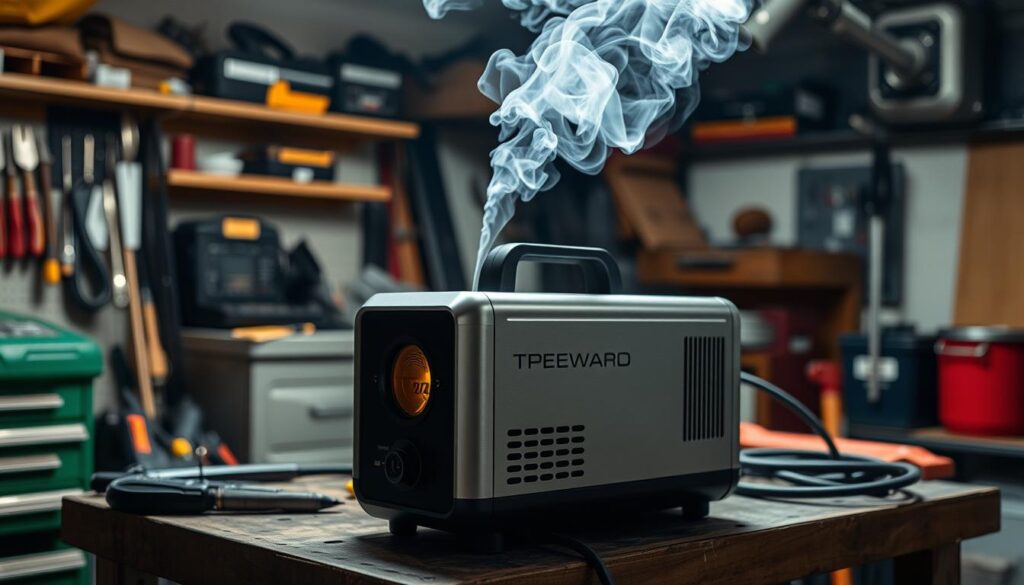
- Smoke machine or smoke generator (see recommendations below)
- Handheld U-tube manometer or digital pressure gauge to monitor system vacuum
- Flashlight or inspection mirror to aid in visual leak detection
- Diagnostic trouble code reader (optional, but helpful for pinpointing issues)
Recommended Smoke Machines
There are different smoke machines for car leak testing:
- DIY Smoke Generators – You can make these with ABS sewer pipe, heating wire, and other parts. They’re cheap and good for DIYers.
- Cigar Smoke – If you’re in a hurry, cigar smoke works for small tests.
- Professional Smoke Machines – For better tests, look for machines with flow gauges. They cost $300 to $1,000.
Safety Gear and Precautions
It’s important to be safe when testing with smoke. Wear safety goggles and make sure the area is well-ventilated. Also, use a U-tube manometer to avoid too much pressure.
With the right tools and safety steps, you can find vacuum leaks in your car.
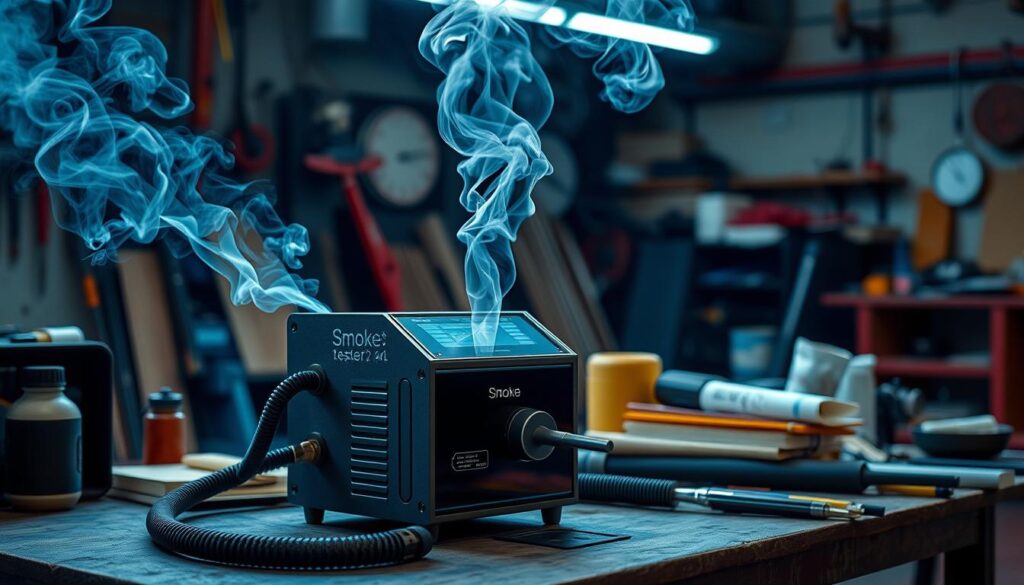
Preparing Your Vehicle for Smoke Testing
Before starting the smoke testing, make sure your vehicle is ready. A detailed check and fixing any problems can save time and give accurate results. Automotive diagnostics and engine troubleshooting are key steps here.
Steps to Take Before the Test
- Look for dirty or faulty MAF (Mass Air Flow) sensors. These can cause air leaks in the air intake system.
- Check the fuel filter and make sure the PCM (Powertrain Control Module) is working right.
- Use a diagnostic scanner to check sensor readings and fuel trim values. This can spot problems before the smoke test.
- Make sure the vacuum system is in good shape. Look for cracks or damage in hoses and connections.
Inspecting the Vacuum System
Inspecting the vacuum system is very important before the smoke test. Look for signs of wear like cracked or dried-out hoses. Also, check that all connections are tight. This helps find any issues that might mess up the smoke test results.
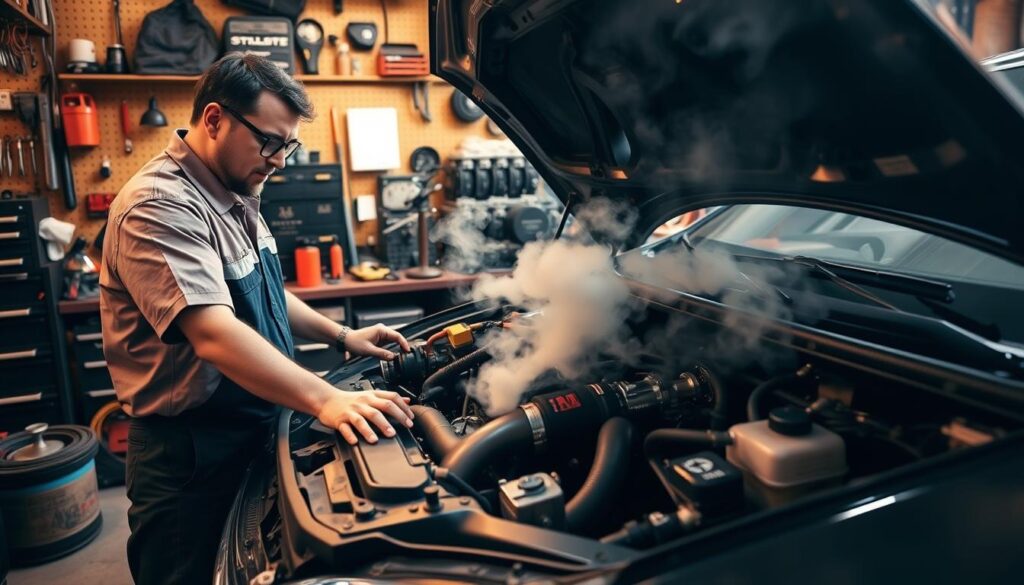
“Nearly 75% of modern cars have minor, undetected vacuum leaks, says Redline Detection President Zachary Parker.”
By getting your vehicle ready and checking the vacuum system, you’re set for a successful smoke test. You’ll find any engine troubleshooting problems too.
How to Set Up Your Smoke Testing Equipment
Smoke testing is a great way to find vacuum leaks in your car’s intake system. First, you need to set up your smoke testing gear right. This means connecting the smoke machine and making sure it’s safe to use.
Connecting the Smoke Machine
For DIY smoke tests, connect the machine to the intake manifold through the PCV valve. This lets the smoke go into the vacuum system. Use a U-tube manometer to keep the pressure at 13 inches of water column.
Making Sure Your Setup is Safe
- Wear safety glasses and gloves to protect your eyes and hands.
- Avoid working near any moving parts or hot components to prevent injuries.
- Be cautious with flammable substances like the smoke machine fuel or solvents used for testing.
- Ensure proper ventilation in the work area to prevent the buildup of potentially hazardous fumes.
If you want an easier way, remove the PCV valve, plug the hole, and attach a long rubber hose. Then, use a cigar-based smoke generator to add smoke to the vacuum system.
It’s key to know your car’s vacuum system well, even if it’s been changed. This ensures your smoke test is safe and works well.
Performing the Smoke Test: Step-by-Step Guide
Doing a smoke test is key to finding vacuum leaks in your car. It helps you get accurate results and fix leaks well. Here’s how to do the smoke test step by step.
Starting the Smoke Machine
First, connect the smoke machine to your car’s intake manifold. This is usually done through the PCV valve. Make sure the machine is on and set right. It should make smoke at up to 100 psi and 12 VDC, hold 3.4 oz of oil, and weigh about 11.9 lbs.
Observing for Smoke Escapes
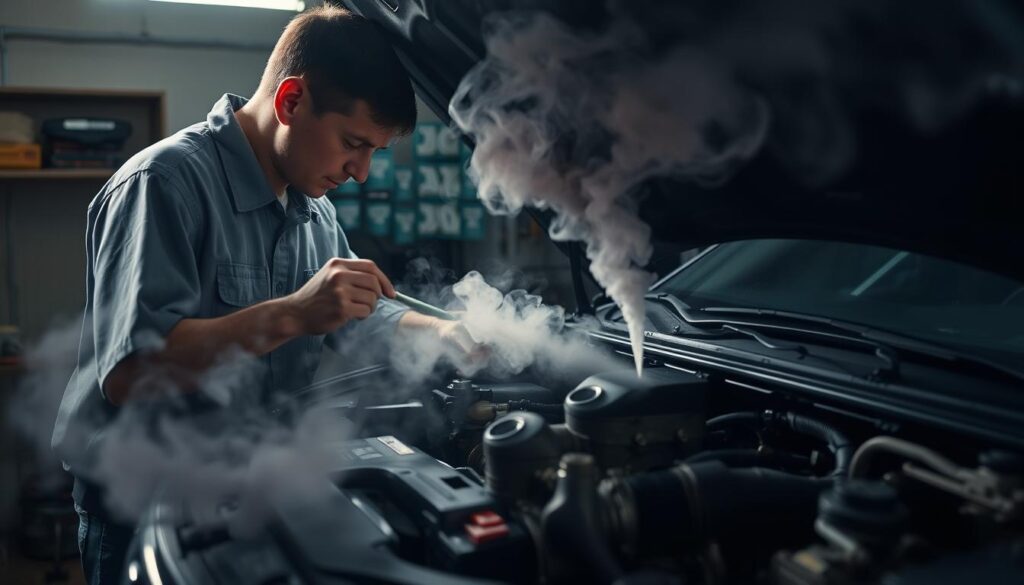
After starting the machine, watch for smoke in your car’s vacuum system. If there’s no leak, you’ll feel the system get very pressurized. The smoke should stay inside without leaking out. But, if smoke leaks from different spots, you’ve found a vacuum leak.
To check better, shine a flashlight on the leak spots. This makes it easier to find where the leak is. Also, listen for hissing sounds to help find the leak.
Be careful when doing the smoke test. It uses a smoke machine and works with your car’s vacuum system. Always wear safety gear and follow the machine’s user guide.
By following these steps, you can find vacuum leaks in your car. This lets you fix them quickly and keep your car running well.
Identifying Leak Locations with Smoke
Using smoke for vacuum leak detection is very effective. It lets you see where leaks are in your car’s engine. By watching where the smoke goes, you can find and fix the problem fast.
Visual Inspection Techniques
Start by checking the whole vacuum system carefully. Look at spots that often leak. Use a long hose to reach places like under the car. Watch for smoke coming out to find leaks.
Listening for Sounds
You can also hear engine troubleshooting issues. Listen for hissing sounds that mean small leaks. These sounds often come from the intake manifold, gaskets, and vacuum line connections.
By looking and listening, you can find vacuum leaks quickly. This way, you fix problems fast and keep your engine running well.
“A large proportion of service technicians have minor, usually hidden vacuum leaks,” says Zachary Parker, Redline Detection President. His company makes leak detection tools.
Common Leak Sources to Check
When finding vacuum leaks, there are a few usual places to look. Knowing where these leaks can happen is key to fixing your vehicle’s vacuum system.
Intake Manifold and Gaskets
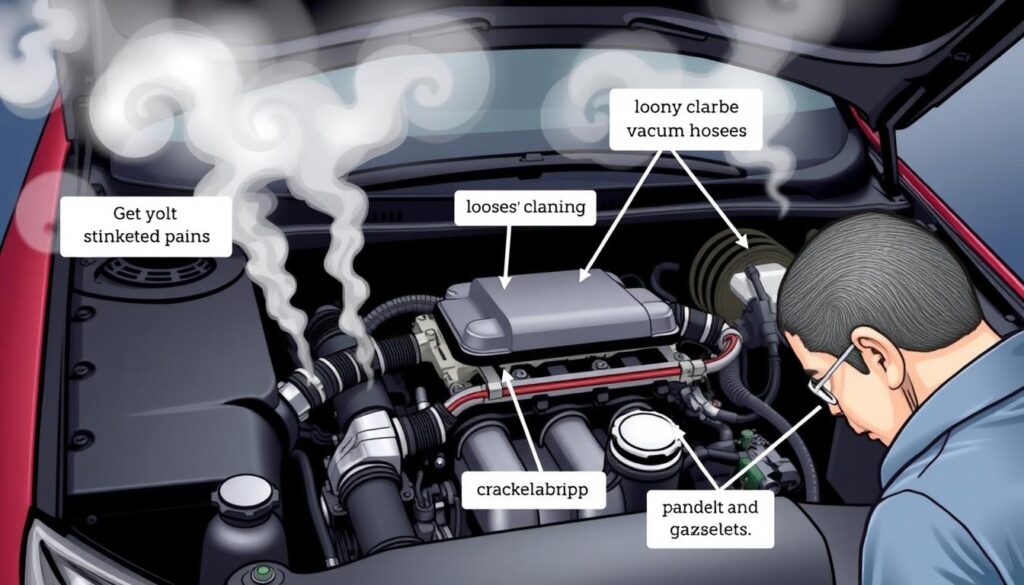
The intake manifold and its gaskets often cause vacuum leaks. Gaskets can wear out, crack, or get damaged, letting air into the system. Check the manifold and replace any bad gaskets to fix these leaks.
Vacuum Hoses and Connections
Vacuum hoses and their connections are also common leak spots. Hoses can get brittle, crack, or come loose, causing air leaks. Look over all vacuum lines, fittings, and clamps. Replace any that are worn or damaged to keep the system tight.
EGR Valves and Brake Boosters
The EGR valve and brake booster can also leak. A bad EGR valve lets air into the system, while a leaky brake booster messes with the vacuum for the brakes. Check these parts and fix any problems to keep the vacuum working right.
By checking these usual leak spots, you’ll find and fix vacuum problems in your car. Fixing vacuum leaks quickly keeps your engine running well, saves fuel, and improves your drive.
What to Do If You Find a Leak
If you find a vacuum leak in your car, there are steps to take. Temporary fixes can help, but planning a permanent repair is key. This ensures your car runs well for a long time.
Temporary Fixes for Leaks
For small leaks, you can try some quick fixes. These include:
- Using a specialized leak sealant or epoxy to temporarily patch the leak
- Tightening loose hose clamps or connections
- Replacing worn or damaged vacuum hoses
But remember, these fixes are only temporary. They should help until you can fix the leak for good.
Planning a Permanent Repair
To fix a leak for good, you need to find and fix the real problem. This might mean:
- Replacing faulty gaskets, such as those in the intake manifold
- Repairing or replacing damaged vacuum hoses or connections
- Addressing issues with components like the EGR valve or brake booster
- Clearing any fuel trim issues and rechecking the system to ensure the problem is resolved
Some repairs might need a pro. If you’re not sure, it’s best to get help from a mechanic.
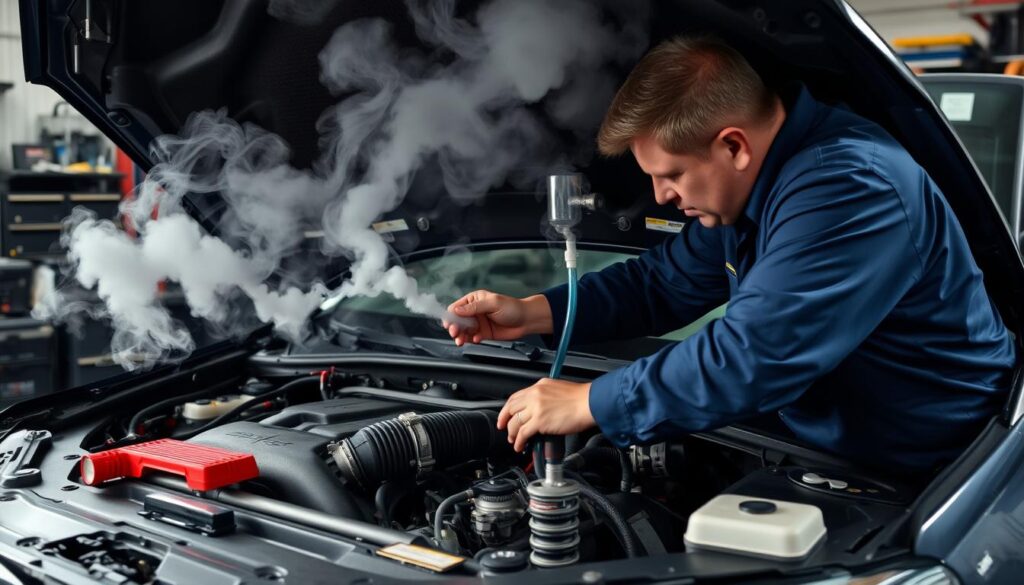
Fixing vacuum leaks quickly and right is important. It keeps your car’s engine healthy and running well. By fixing the leak, you avoid bigger problems and keep your car in top shape.
Troubleshooting: Issues During Smoke Testing
Smoke testing is a great way to find vacuum leaks. But, you might face some common problems. Knowing how to solve these issues can help you do a successful smoke test and find any leaks in your vehicle’s system.
Common Problems and Solutions
One common issue is not being able to build enough pressure or the smoke disappearing too fast. This could be because of leaks or a problem with the smoke generator. Make sure all connections are tight and the smoke machine works right. If the problem keeps happening, look for any blockages that might be stopping the smoke from moving around.
Another issue is false positives, where the smoke test shows a leak but it’s not really there. This can happen with parts like blow-off valves or factory bypass valves. They might let smoke through even when they’re not leaking. In these cases, you need to check the parts closely and use other tests to make sure there’s a real leak.
When to Seek Professional Help
If you can’t find the leak or the problem keeps coming back after fixing it, you might need a pro. Some problems are too complex for a DIY smoke test. A professional mechanic can use special tools and know-how to find and fix the real issue. This way, you can make sure your vehicle’s vacuum system is working right again.
FAQ
What is a vacuum leak and how can it affect my vehicle’s performance?
Why is smoke testing an effective method for detecting vacuum leaks?
What are the essential tools and materials needed for DIY smoke testing?
How do I properly set up and use the smoke testing equipment?
What are the common sources of vacuum leaks that I should look for during the smoke test?
What should I do if I find a vacuum leak during the smoke test?
What are some common issues that may arise during the smoke testing process, and how can I troubleshoot them?

Jack Thompson is a writer and seasoned auto mechanic with over 15 years of experience in the automotive industry. Known for his expertise in vehicle mechanics, Jack has a deep understanding of car and truck systems. His skills, honed through years of hands-on experience, have made him a trusted name in the field. Jack is committed to providing valuable insights into car maintenance and repair, helping vehicle owners keep their vehicles in top condition.

