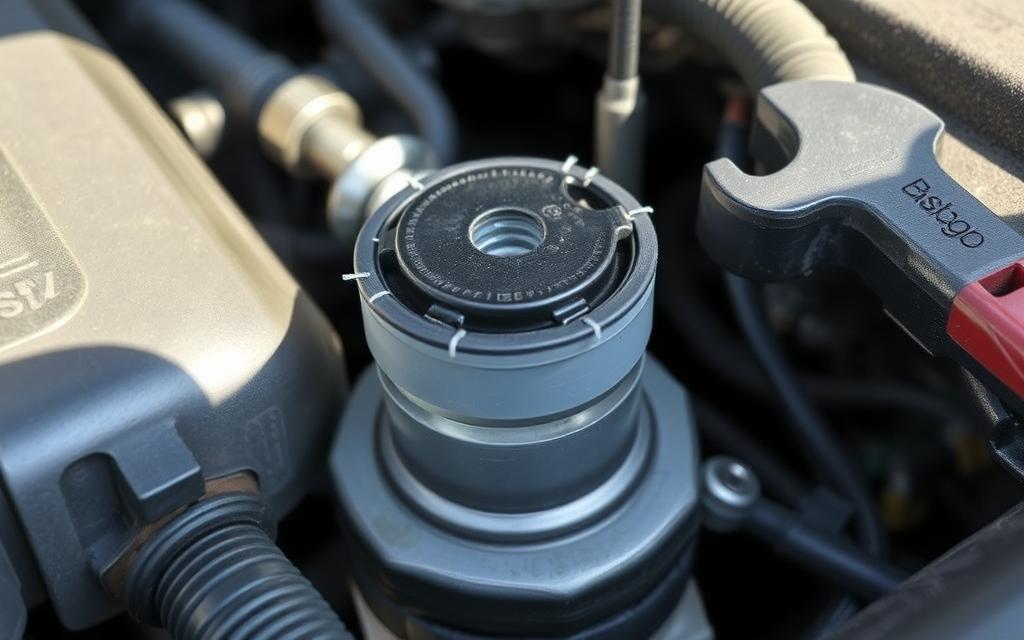
Dealing with a coolant leak can be a real challenge. A temporary fix for the radiator cap can save the day, letting you drive to a safe place. This guide will show you how to use a modified old radiator cap to slow down leaks. We’ll also cover safety tips, tools you’ll need, and when to call a pro.
Key Takeaways
- Temporary radiator cap fixes can help you get your car to safety when dealing with a small coolant leak.
- Using a modified old radiator cap without the pressure seal can be an effective temporary solution.
- Always prioritize safety and take proper precautions when attempting any temporary repairs.
- Knowing when to seek professional help is crucial to avoid further damage to your vehicle.
- Carrying spare parts and tools can make a big difference in handling emergency situations.
Understanding the Importance of a Radiator Cap
The radiator cap is key to a car’s cooling system. It keeps the right pressure and temperature. Knowing how it works helps fix problems like radiator cap leak and coolant system repair.
What is a Radiator Cap?
A radiator cap is a cover for the radiator. It seals the coolant system and controls pressure. The cap has a spring that keeps the coolant from boiling too early.
Functions of a Radiator Cap
The radiator cap has important jobs in a car’s cooling system:
- Maintains Pressure: The cap’s seal keeps the right pressure, usually 12 to 16 psi. This stops the coolant from boiling and the engine from overheating.
- Regulates Coolant Flow: The cap controls coolant flow between the radiator and engine. It makes sure the coolant moves well and cools the engine.
- Prevents Overheating: The cap keeps the engine cool by controlling pressure and flow. This stops overheating, which can damage the engine badly.
Understanding the radiator cap’s role is key to fixing radiator cap leak and coolant system repair issues.
Common Causes of Radiator Cap Failure
The radiator cap is key to keeping your engine cool. But, it can fail for many reasons. This can cause problems for your car. Here are the main reasons why radiator caps fail.
Over-Heating
High temperatures can damage the radiator cap over time. The heat can warp, crack, or melt it. This makes it hard for the cap to seal the cooling system properly.
Corrosion
Older cars can get corrosion on their radiator caps. This buildup stops the cap from sealing well. It leads to leaks and less efficient cooling. Corrosion and rust buildup are identified as primary culprits behind radiator leaks, caused by exposure to moisture, heat, and contaminants over time.
Improper Installation
Putting the radiator cap on wrong can mess up the cooling system. If it’s not installed right, it can’t seal properly. This causes pressure loss and leaks. 4 weeks earlier, a different mechanic had installed the radiator in the car, leading to air being trapped in the system.
| Cause | Impact | Recommended Solution |
|---|---|---|
| Over-Heating | Warping, cracking, or melting of the cap’s materials | Replace the radiator cap |
| Corrosion | Coolant leaks and reduced system efficiency | Replace the radiator cap and address the underlying corrosion issue |
| Improper Installation | Pressure loss and potential coolant leaks | Properly install the new radiator cap |
Knowing why radiator caps fail is important for your engine’s health. Fixing these problems quickly helps avoid more damage. It keeps your engine running well.
Signs You Need a Temporary Radiator Cap Fix
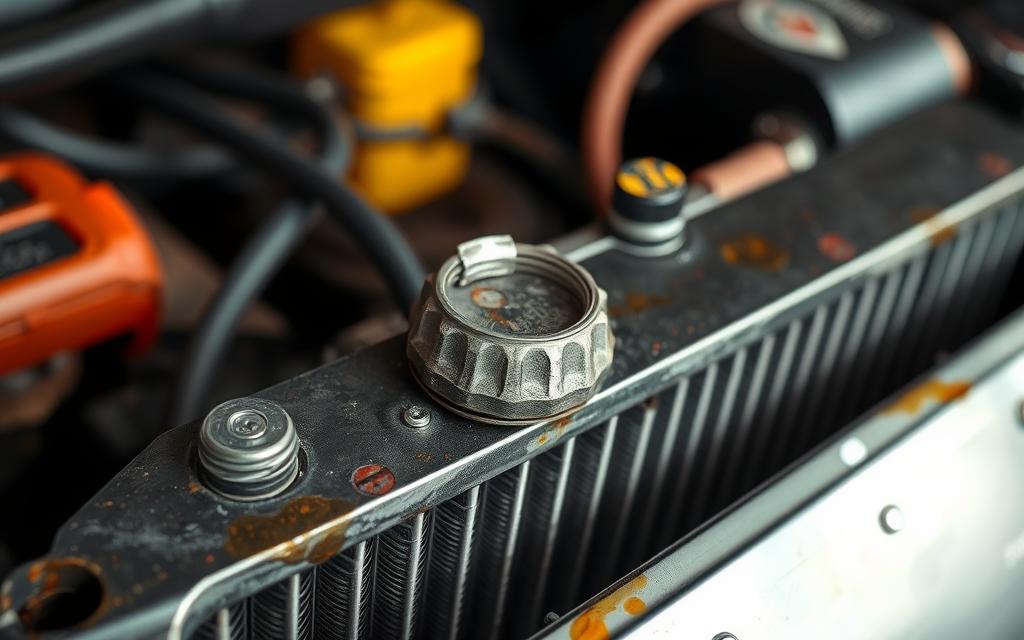
Your car’s radiator cap is key to keeping the cooling system at the right pressure and temperature. If it fails, you’ll see several problems that need a quick fix. Here are some signs you should watch out for:
Coolant Leaks
Seeing coolant leaks is a clear sign of a radiator cap issue. Damaged hoses can cause these leaks, with the lower hose being the most common. Check your hoses for swelling, cracks, or softness to spot leaks early.
A leaking heater core can also cause problems. It might make your car smell sweet and your windows fog up. Wet spots or puddles under the dashboard mean your heater core is leaking.
Engine Overheating
A bad radiator cap can make your engine overheat because it lowers cooling system pressure. A worn water pump can also cause coolant problems. If the dashboard warning light comes on, it might mean the pump has failed.
A weep hole at the water pump’s bottom shows a seal failure. This can lead to small leaks of antifreeze.
Check Engine Light
The check engine light can mean a cooling system problem, including a bad radiator cap. Corrosion and rust in radiators can cause leaks. Look for discoloration or rust on the radiator body.
Regular maintenance, like flushing the radiator and checking for rust, can prevent leaks. But, a blown head gasket can cause serious damage. It spreads corrosive chemicals in the engine and lowers cooling. Driving with a blown head gasket can harm your engine badly, so get it fixed fast.
If you see any of these signs, fix the problem quickly to avoid more damage. A temporary fix for the radiator cap can help you drive safely until you can get a permanent repair.
Tools Needed for a Temporary Fix
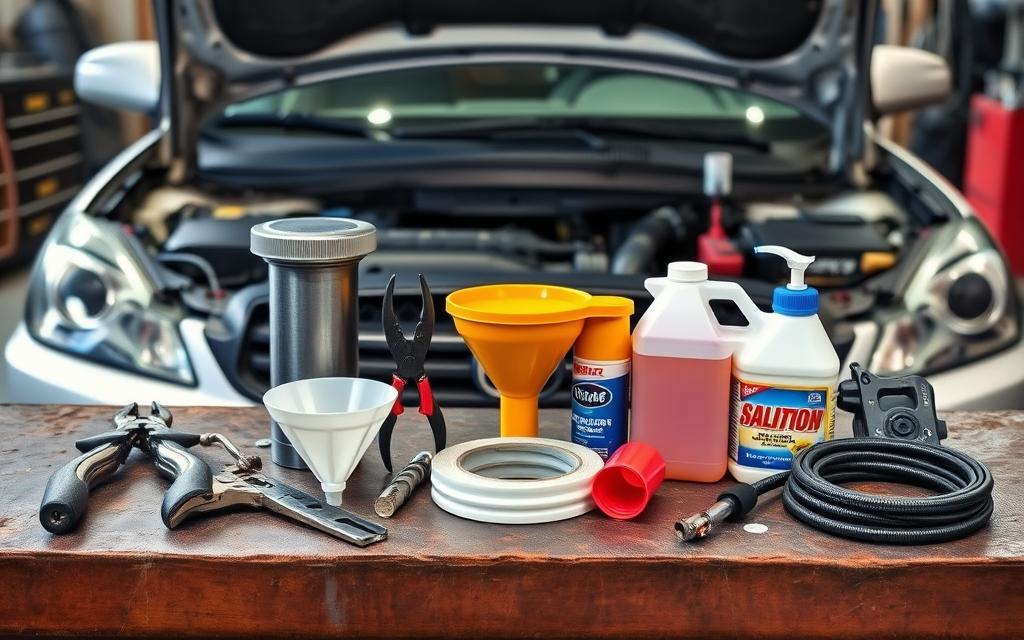
When you face a radiator cap emergency or need to fix the coolant system, having the right tools is crucial. You’ll need a standard socket wrench, a screwdriver, and some replacement materials for a quick fix.
Standard Socket Wrench
A socket wrench is key for removing the damaged radiator cap. It lets you loosen and detach the cap from the radiator. This makes room for a temporary fix.
Screwdriver
You might need a screwdriver to open or adjust the replacement materials. This includes duct tape or a plastic bag to seal the radiator temporarily.
Replacement Materials
- Duct tape or a plastic bag to temporarily cover the radiator opening
- Spare hose clamps to secure the temporary solution in place
- An old radiator cap, if available, that can be modified to fit as a temporary replacement
Having these basic tools and materials ready can help you fix your radiator cap quickly. This lets you keep driving safely until you can get emergency radiator repair or a coolant system repair done properly.
| Tool | Purpose |
|---|---|
| Socket Wrench | Removing the damaged radiator cap |
| Screwdriver | Adjusting and securing temporary replacement materials |
| Duct Tape, Plastic Bag, Old Radiator Cap | Providing a temporary seal for the radiator opening |
| Hose Clamps | Securing the temporary solution in place |
“Addressing a radiator leak promptly with the appropriate resources can save time, money, and prevent the need for more extensive repairs in the future.”
Steps to Assess the Situation
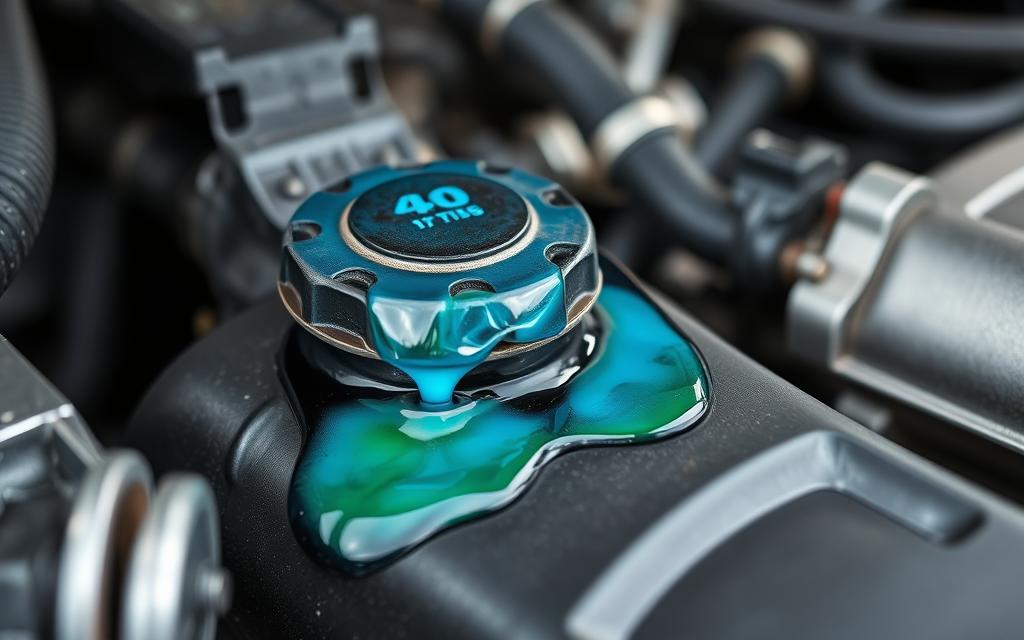
Before you try to fix a radiator cap leak, you need to check a few things first. You should look at the pressure relief valve and see if the radiator has any damage.
Check Pressure Relief Valve
The pressure relief valve is key to keeping your cooling system working right. Start by checking if the valve is working as it should. If it’s stuck or broken, it might be causing the leak.
Inspect for Visible Damage
Then, take a close look at the radiator fitting where the hose connects. Look for any dents, cracks, or other damage that could stop the seal. Cleaning off any dirt or stains will help you see the radiator’s condition better.
By carefully checking the pressure relief valve and inspecting the radiator, you can find the best fix for now. This way, you can fix the problem and keep your car’s cooling system in good shape.
How to Perform a Temporary Radiator Cap Fix
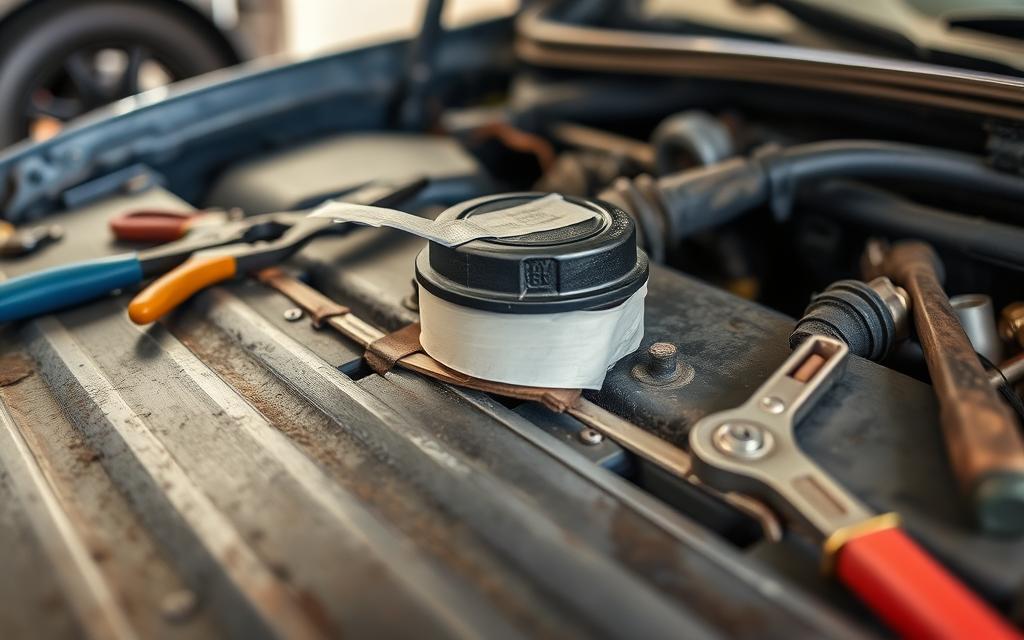
If your radiator cap is damaged, a quick fix can help you drive again. Here’s how to do it:
Gather Materials
First, get the right tools. You’ll need a socket wrench, a screwdriver, and a new radiator cap or a temporary fix. A spare hose clamp is also handy for holding the cap in place.
Remove the Damaged Cap
Take off the broken cap by turning it counterclockwise. If it’s stuck, use a socket wrench. Make sure the engine is cool to avoid burns.
Install the Temporary Cap
Put on a new cap by turning it clockwise. Or, make a temporary fix by altering an old cap. Remove the pressure seal to lower the system pressure and slow leaks. Use a hose clamp to hold it, but don’t overdo it.
This fix is only temporary. You should replace the cap with a proper one as soon as you can. This keeps your cooling system working right.
| Coolant Flush Frequency | Coolant Flush Complexity | Signs Needing Coolant Flush |
|---|---|---|
| Every 30,000 miles or 2-5 years | More complex than a simple drain and refill, requires professional service | Engine overheating, discolored coolant |
“Regularly needing to add coolant indicates a leak or a more serious issue that needs immediate attention.”
By following these steps, you can fix your radiator cap temporarily. This lets you drive while you find a permanent fix. Keep an eye on your engine and coolant levels to make sure it’s safe.
Types of Temporary Radiator Cap Solutions
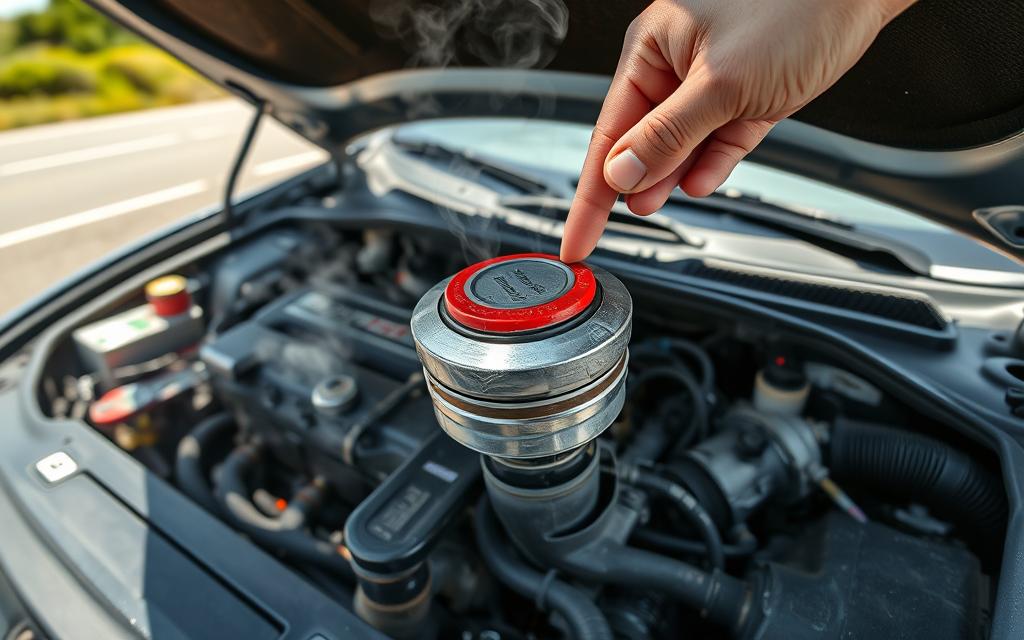
When your radiator cap breaks, you need to act fast to avoid more damage. While a permanent fix is best, there are quick fixes to get you moving again. You can try duct tape or the plastic bag method.
Using Duct Tape
For small leaks, duct tape can be a quick fix. Clean the cap and area well before applying the tape. Wrap the tape tightly around the cap to seal it. This stops leaks until you can replace the cap.
Plastic Bag Method
For bigger leaks, use a plastic bag. Remove the old cap and put a bag over the radiator neck. Use a rubber band or cable tie to keep it in place. This method works for bigger leaks but watch the coolant level to avoid overheating.
These fixes are only temporary. They help you get to a repair shop, not fix the problem for good. Always replace the cap with a professional to keep your car running right.
| Temporary Solution | Effectiveness | Durability | Recommended Use |
|---|---|---|---|
| Duct Tape | Moderate | Short-term | Small leaks |
| Plastic Bag | High | Short-term | Larger leaks |
Knowing these quick fixes helps you fix your car fast. They also prepare you for a more lasting repair later on.
How to Monitor Your Engine After the Fix
After fixing your radiator cap, it’s key to watch your engine closely. This ensures the fix works and your car is safe to drive. Regular checks help spot problems early and avoid damage to your engine’s cooling system.
Vehicle Performance Checks
Keep an eye on how your car acts while driving. Look out for the temperature gauge getting close to red or the engine running too hot. Also, listen for odd noises or changes in the engine sound that might mean trouble.
Coolant Level Inspection
Check the coolant level often. Temporary fixes might not stop leaks completely, so you might need to add coolant often. Use the right coolant type and mix as the maker suggests. One person said to drain about 10 quarts from the engine block during maintenance.
Another person suggested filling the radiator, starting the engine, and adding more coolant as it heats up. Mixing coolant correctly is important, as one person noted. Open the bleed valve to let air out and check the level after driving, as others advised.
Don’t run the engine without a radiator cap to avoid coolant loss. Fill the overflow only to the minimum and add more after it cools down.
By watching your car’s performance and coolant levels, you can make sure the temporary fix works. This helps prevent overheating and protects your engine until you get a permanent fix.
Safety Precautions Before Attempting Repairs
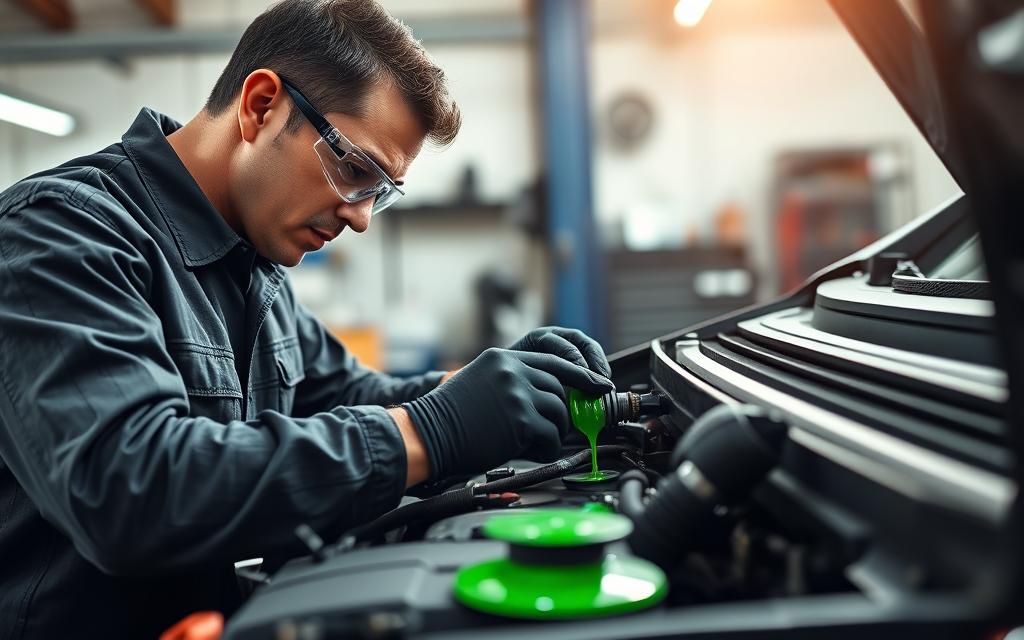
Before you start any coolant system repair or emergency radiator fix, safety comes first. First, let the engine cool down completely. Hot coolant or steam can cause severe burns, so never try repairs on a hot engine.
Once the engine is cool, put on the right protective gear. This includes safety goggles to protect your eyes from debris or gas.
Cool Engine Check
Overheating often leads to the need for radiator repairs. Always let the engine cool down before starting any work. This can take 30 minutes or more, depending on the engine’s running time and the temperature.
Protective Gear
- Safety goggles or glasses to protect your eyes
- Gloves to safeguard your hands
- Well-ventilated work area to minimize exposure to fumes
By following these simple steps, you can ensure a safe and successful radiator repair or coolant system maintenance. Ignoring safety can lead to serious injuries. So, it’s important to take the extra effort to protect yourself.
Long-Term Solutions to Radiator Cap Issues
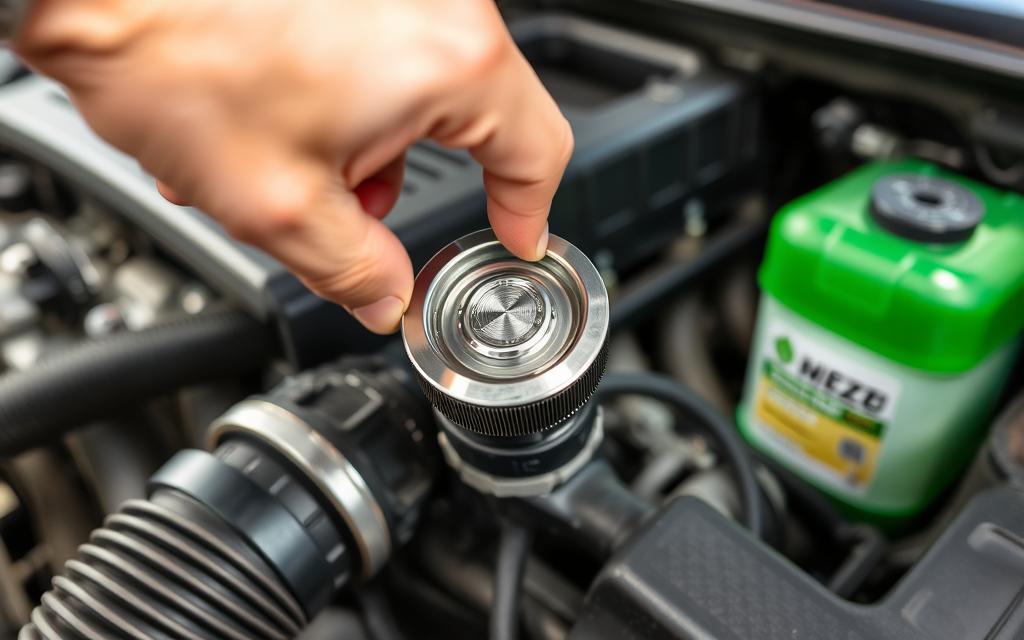
Temporary fixes can help in emergencies, but long-term solutions are key for your car’s cooling system. Getting a professional to replace your radiator cap and regular maintenance are essential. They help your car run smoothly and efficiently.
Professional Replacement Options
If your radiator cap is damaged or not working right, a mechanic should replace it. Radiator cap replacement is simple, but make sure the new cap fits your car’s cooling system. A pro can also check your coolant system for other problems.
Regular Maintenance Tips
- Check the radiator cap for wear signs like cracks, leaks, or a broken pressure relief valve.
- Replace the radiator cap as your car’s maker suggests, usually every 2-3 years or when needed.
- Keep coolant levels right and flush the cooling system as recommended to prevent corrosion and ensure it works well.
- Fix coolant leaks or engine overheating quickly to avoid cooling system damage.
Being proactive with radiator cap care and fixing issues with professional help can make your cooling system last longer. This avoids expensive breakdowns later on.
When to Seek Professional Help
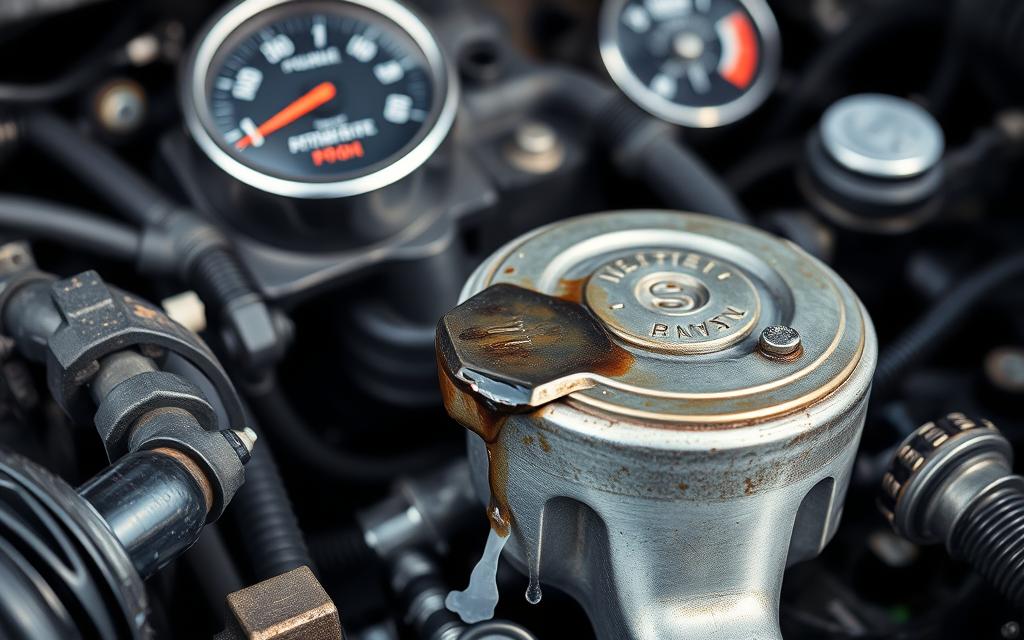
Temporary fixes can help with a radiator cap leak or engine cooling issues. But, sometimes you need a pro. If the damage is big or overheating keeps happening, get a mechanic.
Extensive Damage Assessment
Big damage to your radiator or cooling system needs a pro. Look for cracks, corrosion, or big leaks. A mechanic can check it all out and find the real problem. Trying to fix it yourself could make things worse or be dangerous.
Persistent Overheating
If your car keeps overheating, even after quick fixes, get help. It might mean a bad thermostat, water pump, or engine problem. A mechanic can find and fix the radiator cap leak issue, keeping your engine safe.
If quick fixes don’t work or you think there’s a bigger problem, see a mechanic. They have the skills and tools to keep your engine running right and safe.
How to Prevent Radiator Cap Problems
Keeping your cooling system healthy is key to avoiding radiator cap issues. This ensures your vehicle runs well. By taking a few simple steps, you can keep your radiator cap in good shape. This helps you avoid expensive overheating problems later on.
Regular Inspections
It’s important to regularly check your cooling system. This includes the radiator cap, hoses, and radiator. Look for signs of wear like cracks, corrosion, or a damaged pressure relief valve on the cap. If you find any problems, replace the cap right away. A bad cap can cause overheating and serious issues.
Avoiding Overheating
Overheating is a big reason radiator caps fail. To stop overheating, always keep your coolant levels right. If you see leaks or other cooling system problems, fix them fast. Keep a spare set of hose clamps in your car for emergencies. Learning basic maintenance can help you fix small issues yourself.
Regularly checking your radiator cap and preventing overheating can help your cooling system last longer. This way, you avoid expensive overheating prevention and coolant system repair costs later.
“Replacing a faulty radiator cap, typically priced at under $20, every 5 years is a recommended preventive maintenance step.”
Conclusion: Quick Fix vs. Permanent Solution
Temporary fixes for radiator caps can be helpful in emergencies. But, they shouldn’t be seen as a permanent fix. It’s vital to fix radiator cap problems quickly. This is because ignoring them can lead to expensive engine damage.
Importance of Timely Repairs
A leaky or broken radiator cap can upset your car’s cooling system. This can cause it to overheat and lead to serious engine issues. Fixing these problems fast is key to avoiding more damage and high repair costs later.
Balancing Safety and Urgency
In a radiator cap emergency, it’s important to act fast but safely. Using duct tape or a plastic bag can help in the short term. But, they should not delay getting a professional to fix or replace the cap. Once you can, get a permanent fix to keep your car running well.
FAQ
What is a temporary radiator cap fix?
What are the functions of a radiator cap?
What are the common causes of radiator cap failure?
How do I know if I need a temporary radiator cap fix?
What tools and materials do I need for a temporary radiator cap fix?
How do I assess the situation before attempting a temporary fix?
What are the steps to perform a temporary radiator cap fix?
What are the different types of temporary radiator cap solutions?
How do I monitor my engine after applying a temporary fix?
What safety precautions should I take before attempting repairs?
When should I seek professional help for radiator cap issues?
How can I prevent radiator cap problems in the future?

Jack Thompson is a writer and seasoned auto mechanic with over 15 years of experience in the automotive industry. Known for his expertise in vehicle mechanics, Jack has a deep understanding of car and truck systems. His skills, honed through years of hands-on experience, have made him a trusted name in the field. Jack is committed to providing valuable insights into car maintenance and repair, helping vehicle owners keep their vehicles in top condition.

